Because I do things like this:
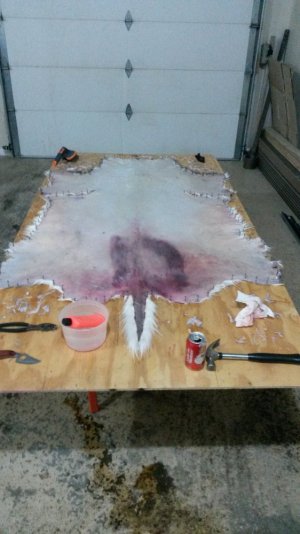
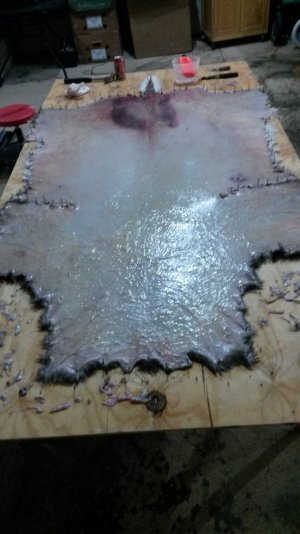
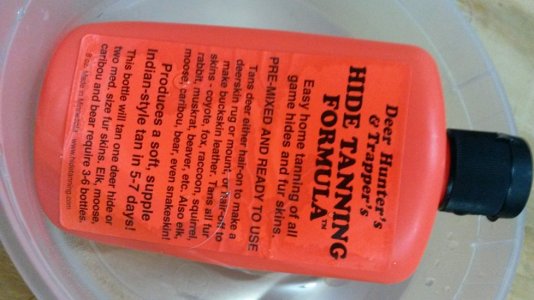
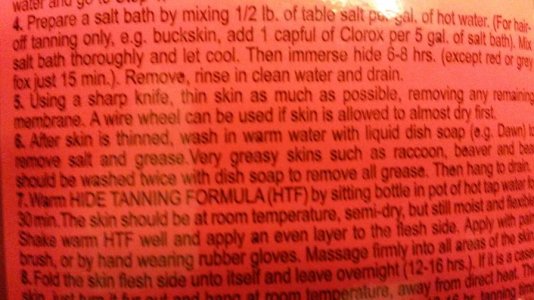
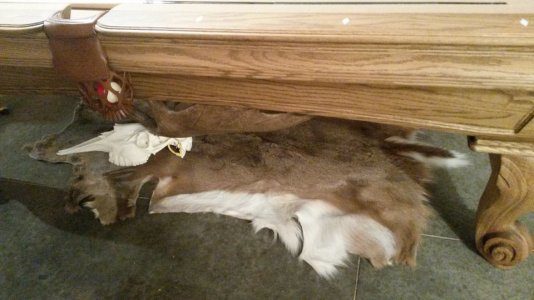
Working on 4 hides now, did 2 last year. Both turned out great. boy has tailess doe hide (dont flesh the tail ) pool table has the buck hide.
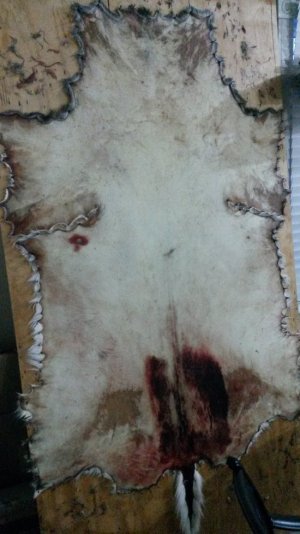
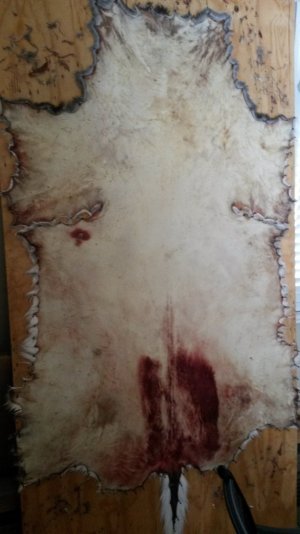
I don't have high hopes for the one pictured. Major bruising in the posterior. Skin fully thinned yet bruising/blood still exist after much salting and washing. Decided to proceed anyhow!
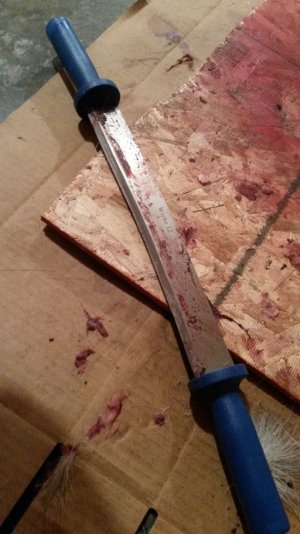
Process is: scrape hide, Wiebe 12 flesher, hide over 6 gal bucket (im freakin building something i can use while standing before next year....still hurting)
26oz of salt per hide ($0.85/26 oz at grocer, DO NOT use softener salt ;-)), fold in half (symetrically), roll (neck to tail like a sleeping bag), set by floor drain 24hrs, unroll, scrape off salt, resalt 26 oz, fold, roll, 24 hrs by floor drain (salting sets hair/less slippage), scrape salt off, then into cooled salt bath for 6-8 hrs (1/2 lb salt per gallon of water)
remove, rinse, wash in warm water with Dawn, twice (once likely plenty, i do twice), rinse in clean/cool h20, hang to drain, proceed with stretching/tanning (as pictured)
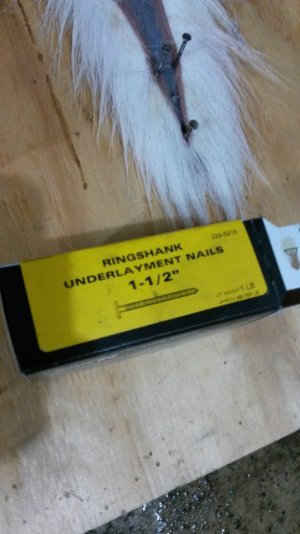
board is flat for a day on 2 sawhorses after tan solution applied. going upright later for rest of dry down/tan. scalpal used around perimeter to free hide once done. lose about half inch around but no nail holes in finished product (cept for the tail, i dont cut that 1/2" off around that, i pull the nails). ring shank nailes a must. 1/2" NON OSB ply. this is the 3rd hide on this sheet of ply, likely good for many more. shape hide as you like. neck to tail tip this buck hide is over 7', skinned to jaw line tho. smart alecs always ask if im going to skin the face too........
a lot of work, but very rewarding! girls called dibs on 2 of the 4 already.
- - - Updated - - -
oh, if holes present, sew before stretching. large needle, fireline crystal (any thread will work)
bullet sized holes on this one didnt warrant sewing in my opinion, broadhead holes get sewn (they grow in size quite a bit after stretching otherwise.


Working on 4 hides now, did 2 last year. Both turned out great. boy has tailess doe hide (dont flesh the tail
I don't have high hopes for the one pictured. Major bruising in the posterior. Skin fully thinned yet bruising/blood still exist after much salting and washing. Decided to proceed anyhow!
Process is: scrape hide, Wiebe 12 flesher, hide over 6 gal bucket (im freakin building something i can use while standing before next year....still hurting)
26oz of salt per hide ($0.85/26 oz at grocer, DO NOT use softener salt ;-)), fold in half (symetrically), roll (neck to tail like a sleeping bag), set by floor drain 24hrs, unroll, scrape off salt, resalt 26 oz, fold, roll, 24 hrs by floor drain (salting sets hair/less slippage), scrape salt off, then into cooled salt bath for 6-8 hrs (1/2 lb salt per gallon of water)
remove, rinse, wash in warm water with Dawn, twice (once likely plenty, i do twice), rinse in clean/cool h20, hang to drain, proceed with stretching/tanning (as pictured)
board is flat for a day on 2 sawhorses after tan solution applied. going upright later for rest of dry down/tan. scalpal used around perimeter to free hide once done. lose about half inch around but no nail holes in finished product (cept for the tail, i dont cut that 1/2" off around that, i pull the nails). ring shank nailes a must. 1/2" NON OSB ply. this is the 3rd hide on this sheet of ply, likely good for many more. shape hide as you like. neck to tail tip this buck hide is over 7', skinned to jaw line tho. smart alecs always ask if im going to skin the face too........
a lot of work, but very rewarding! girls called dibs on 2 of the 4 already.
- - - Updated - - -
oh, if holes present, sew before stretching. large needle, fireline crystal (any thread will work)
bullet sized holes on this one didnt warrant sewing in my opinion, broadhead holes get sewn (they grow in size quite a bit after stretching otherwise.

